Configure Your Galaxy Instance as a Google OIDC Client
On this page
This page explains how to configure this feature, for user-specific docs, please refer to this page.
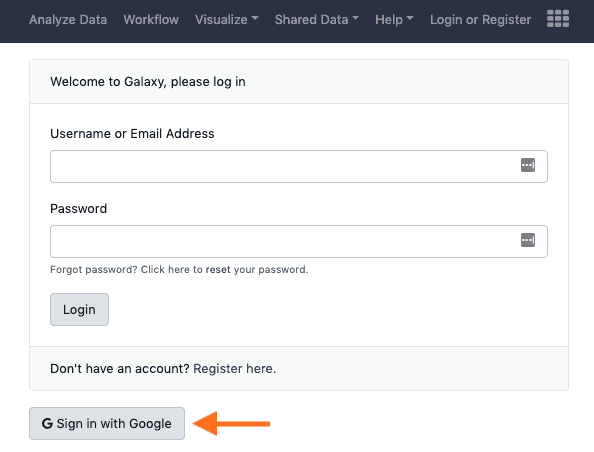
Leveraging OpenID Connect (OIDC) protocol, users can login to Galaxy with their Google account, without having to (explicitly) create a Galaxy user account. To enable this feature on your Galaxy instance, you would need to first register you Galaxy instance as an OIDC relying party (RP, or client) with Google, then use your registration information to configure Galaxy. These steps are described in details in the following sections.
Client Registration
Take the following steps in order to register your Galaxy instance as an OIDC RP on Google’s OAuth2.0 authorization server:
-
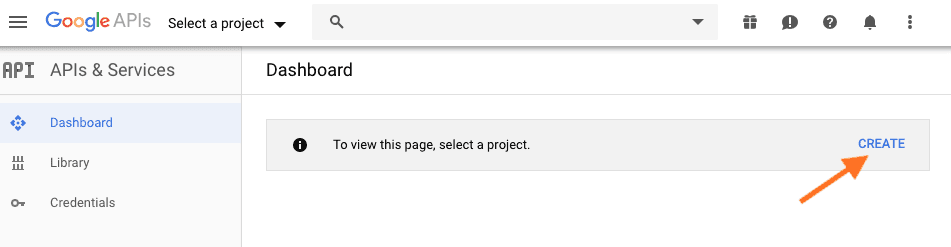
Visit the Google Developers Dashboard and either create a new project or select an exising project to use for this registration:
- If this is your first time visiting this page, you’ll see a prompt to create a new project. Click on the Create button to create a project.
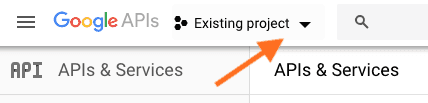
- If you already have existing projects, click the drop down in the top menu and select a desired project or create a new project by clicking the New Project button.
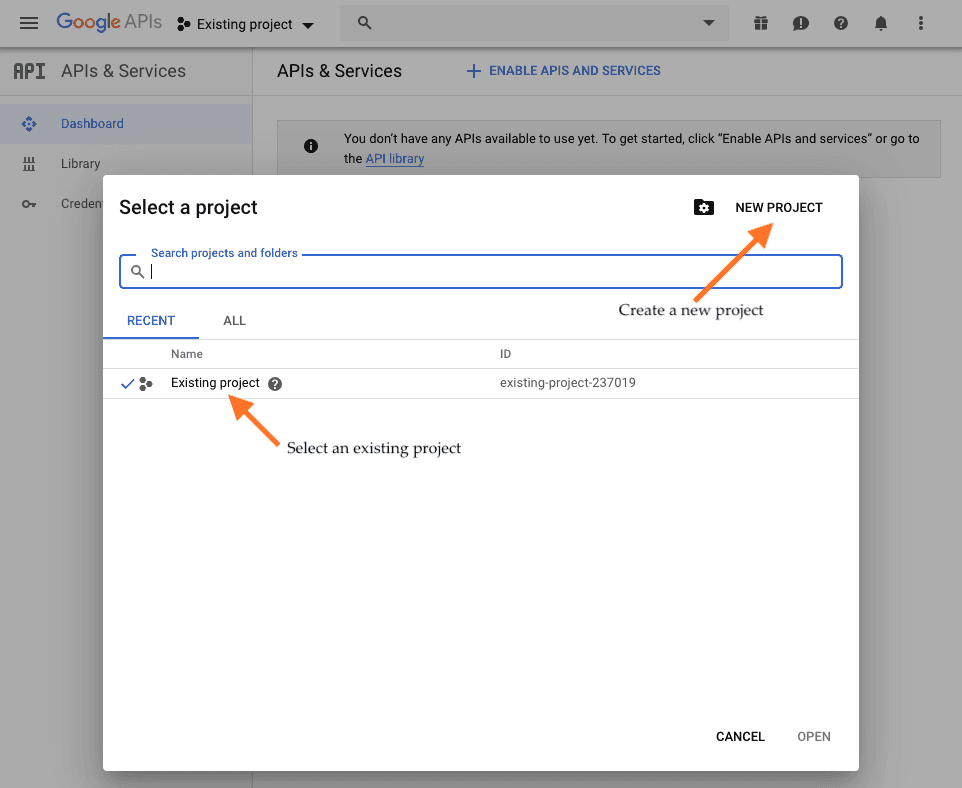
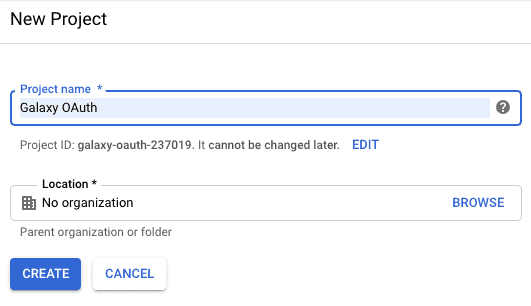
- On the New Project page, enter desired project name and click Create.
-
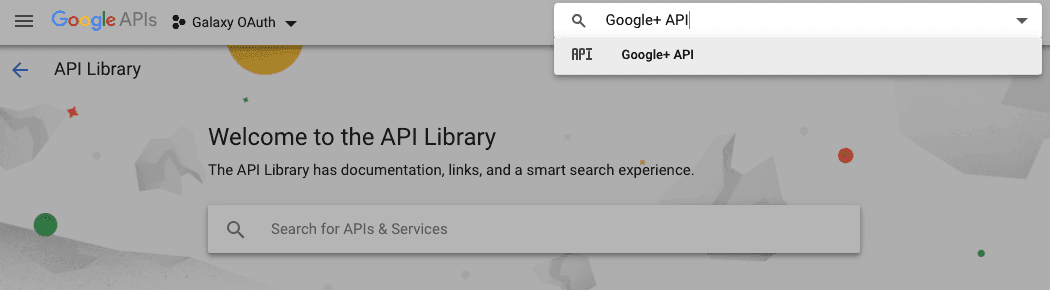
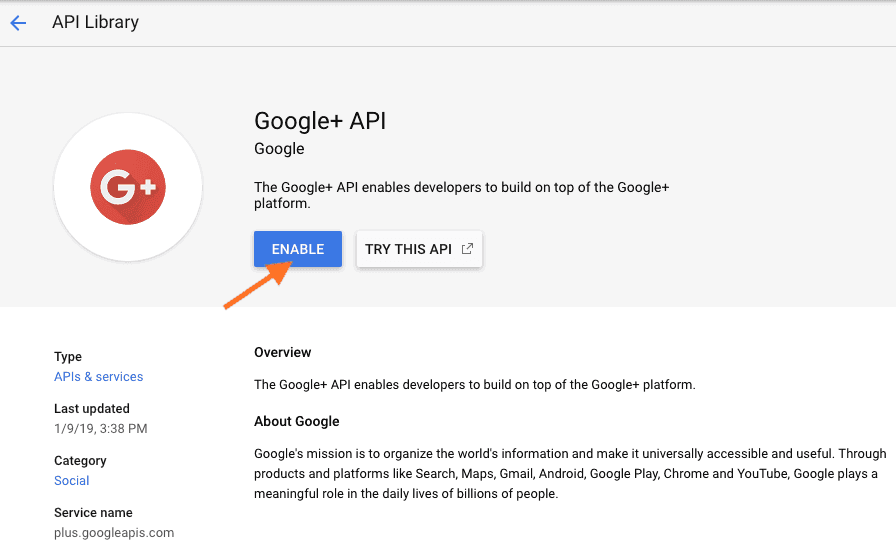
Go to Library section of the APIs & Services console and enable the Google+ API;
-
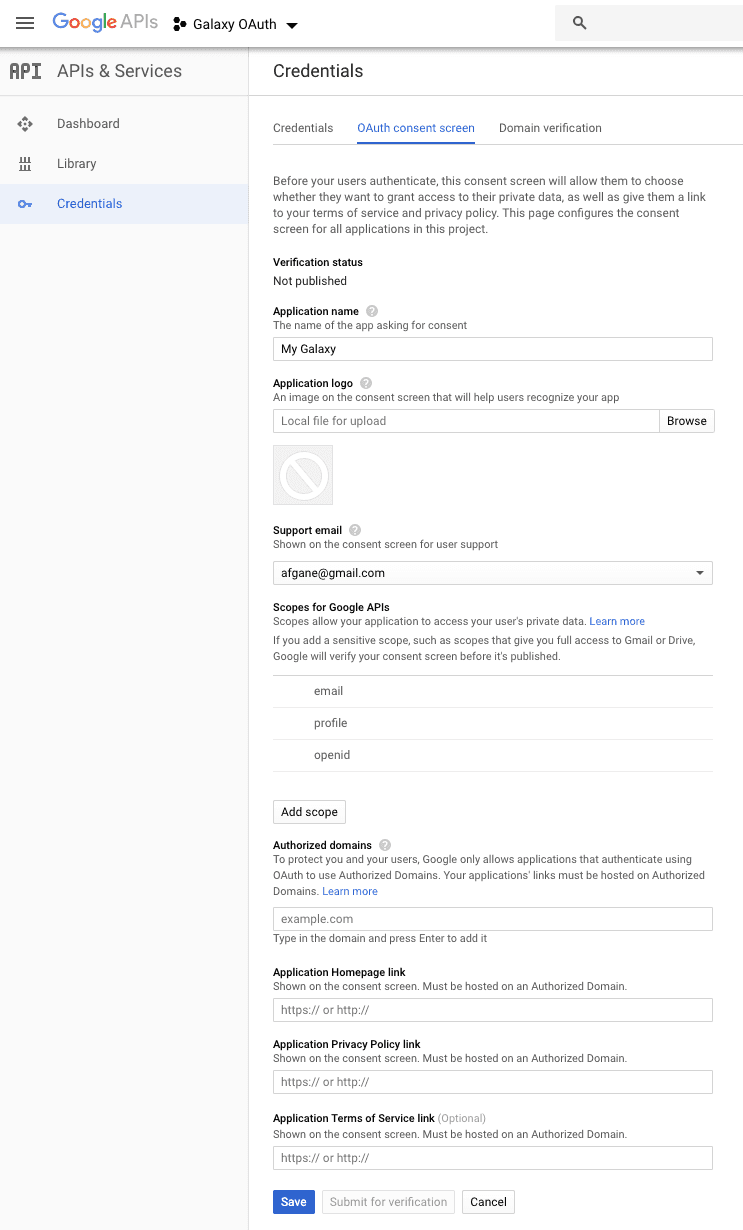
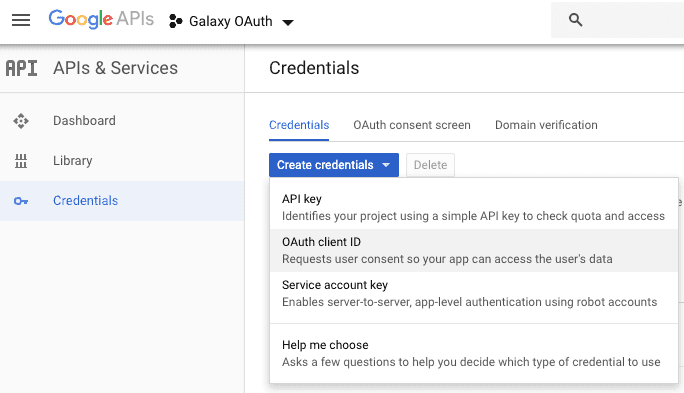
Next, we’ll add the details about our Galaxy instance and create a set of client credentials for use in the Galaxy configuration so click on the Credentials page in the developers console.
- Select the OAuth consent screen tab and Fill the fields according to your Galaxy instance, then save the changes.
- Select the Create credentials on the Credentials tab and choose OAuth client ID from the popup window.
-
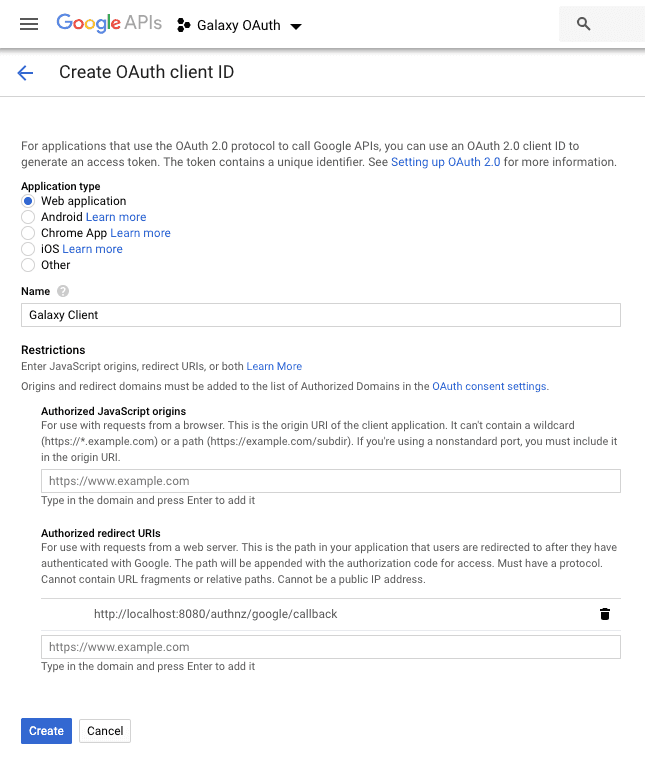
Choose Web application from the list and provide a name (e.g., Galaxy Client). For the Authorized redirect URIs field, you need to enter your instance’s OIDC redirect URI, which is in the following template:
<Host URI>/authnz/google/callbackFor instance:
http://localhost:8080/authnz/google/callbackSee this section for details.
Then hit the Create button.
-
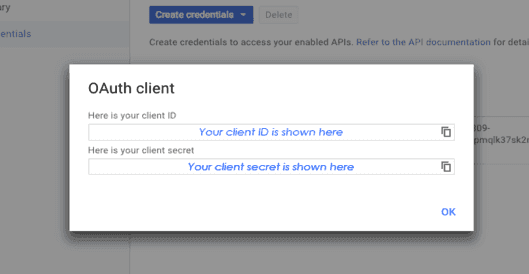
A window pops-up showing your OAuth
Client IDandClient Secret; note this info!
Galaxy Configuration
You would need to setup you Galaxy instance to leverage OIDC protocol.
This setup is common for all OIDC IdPs, and is
documented at this page.
Then you would need to add Google-specific setters to the config/oidc_backends_config.xml file as the
the following:
<?xml version="1.0"?>
<OIDC>
    <provider name="Google">
        <client_id> ... </client_id>
        <client_secret> ... </client_secret>
        <redirect_uri>http://localhost:8080/authnz/google/callback</redirect_uri>
        <prompt>consent</prompt>
    </provider>
</OIDC>
See this section for more details.
Having set this configuration, restart Galaxy to have the option of login to Galaxy with a Google account enabled.