Configure Cloud Authorization for GCP
On this page
To authorize Galaxy to establish a connection to your Google Cloud Platform (GCP) account, you would need to create a GCP service account and provide Galaxy with its secrets. This page briefly explains how to create a service account, obtain its credentials, and present them to Galaxy.
Step 1: Create a GCP Service Account
In the following we explain how to create a GCP service account
using GCP console graphical interface; you may refer to
GCP documentation page.
In general, first we create a service account, then we grant the service account with required permissions, and then we download a file that contains all the secrets to assume the role. To do so, take the following steps:
-
Goto
Service Accounts Page: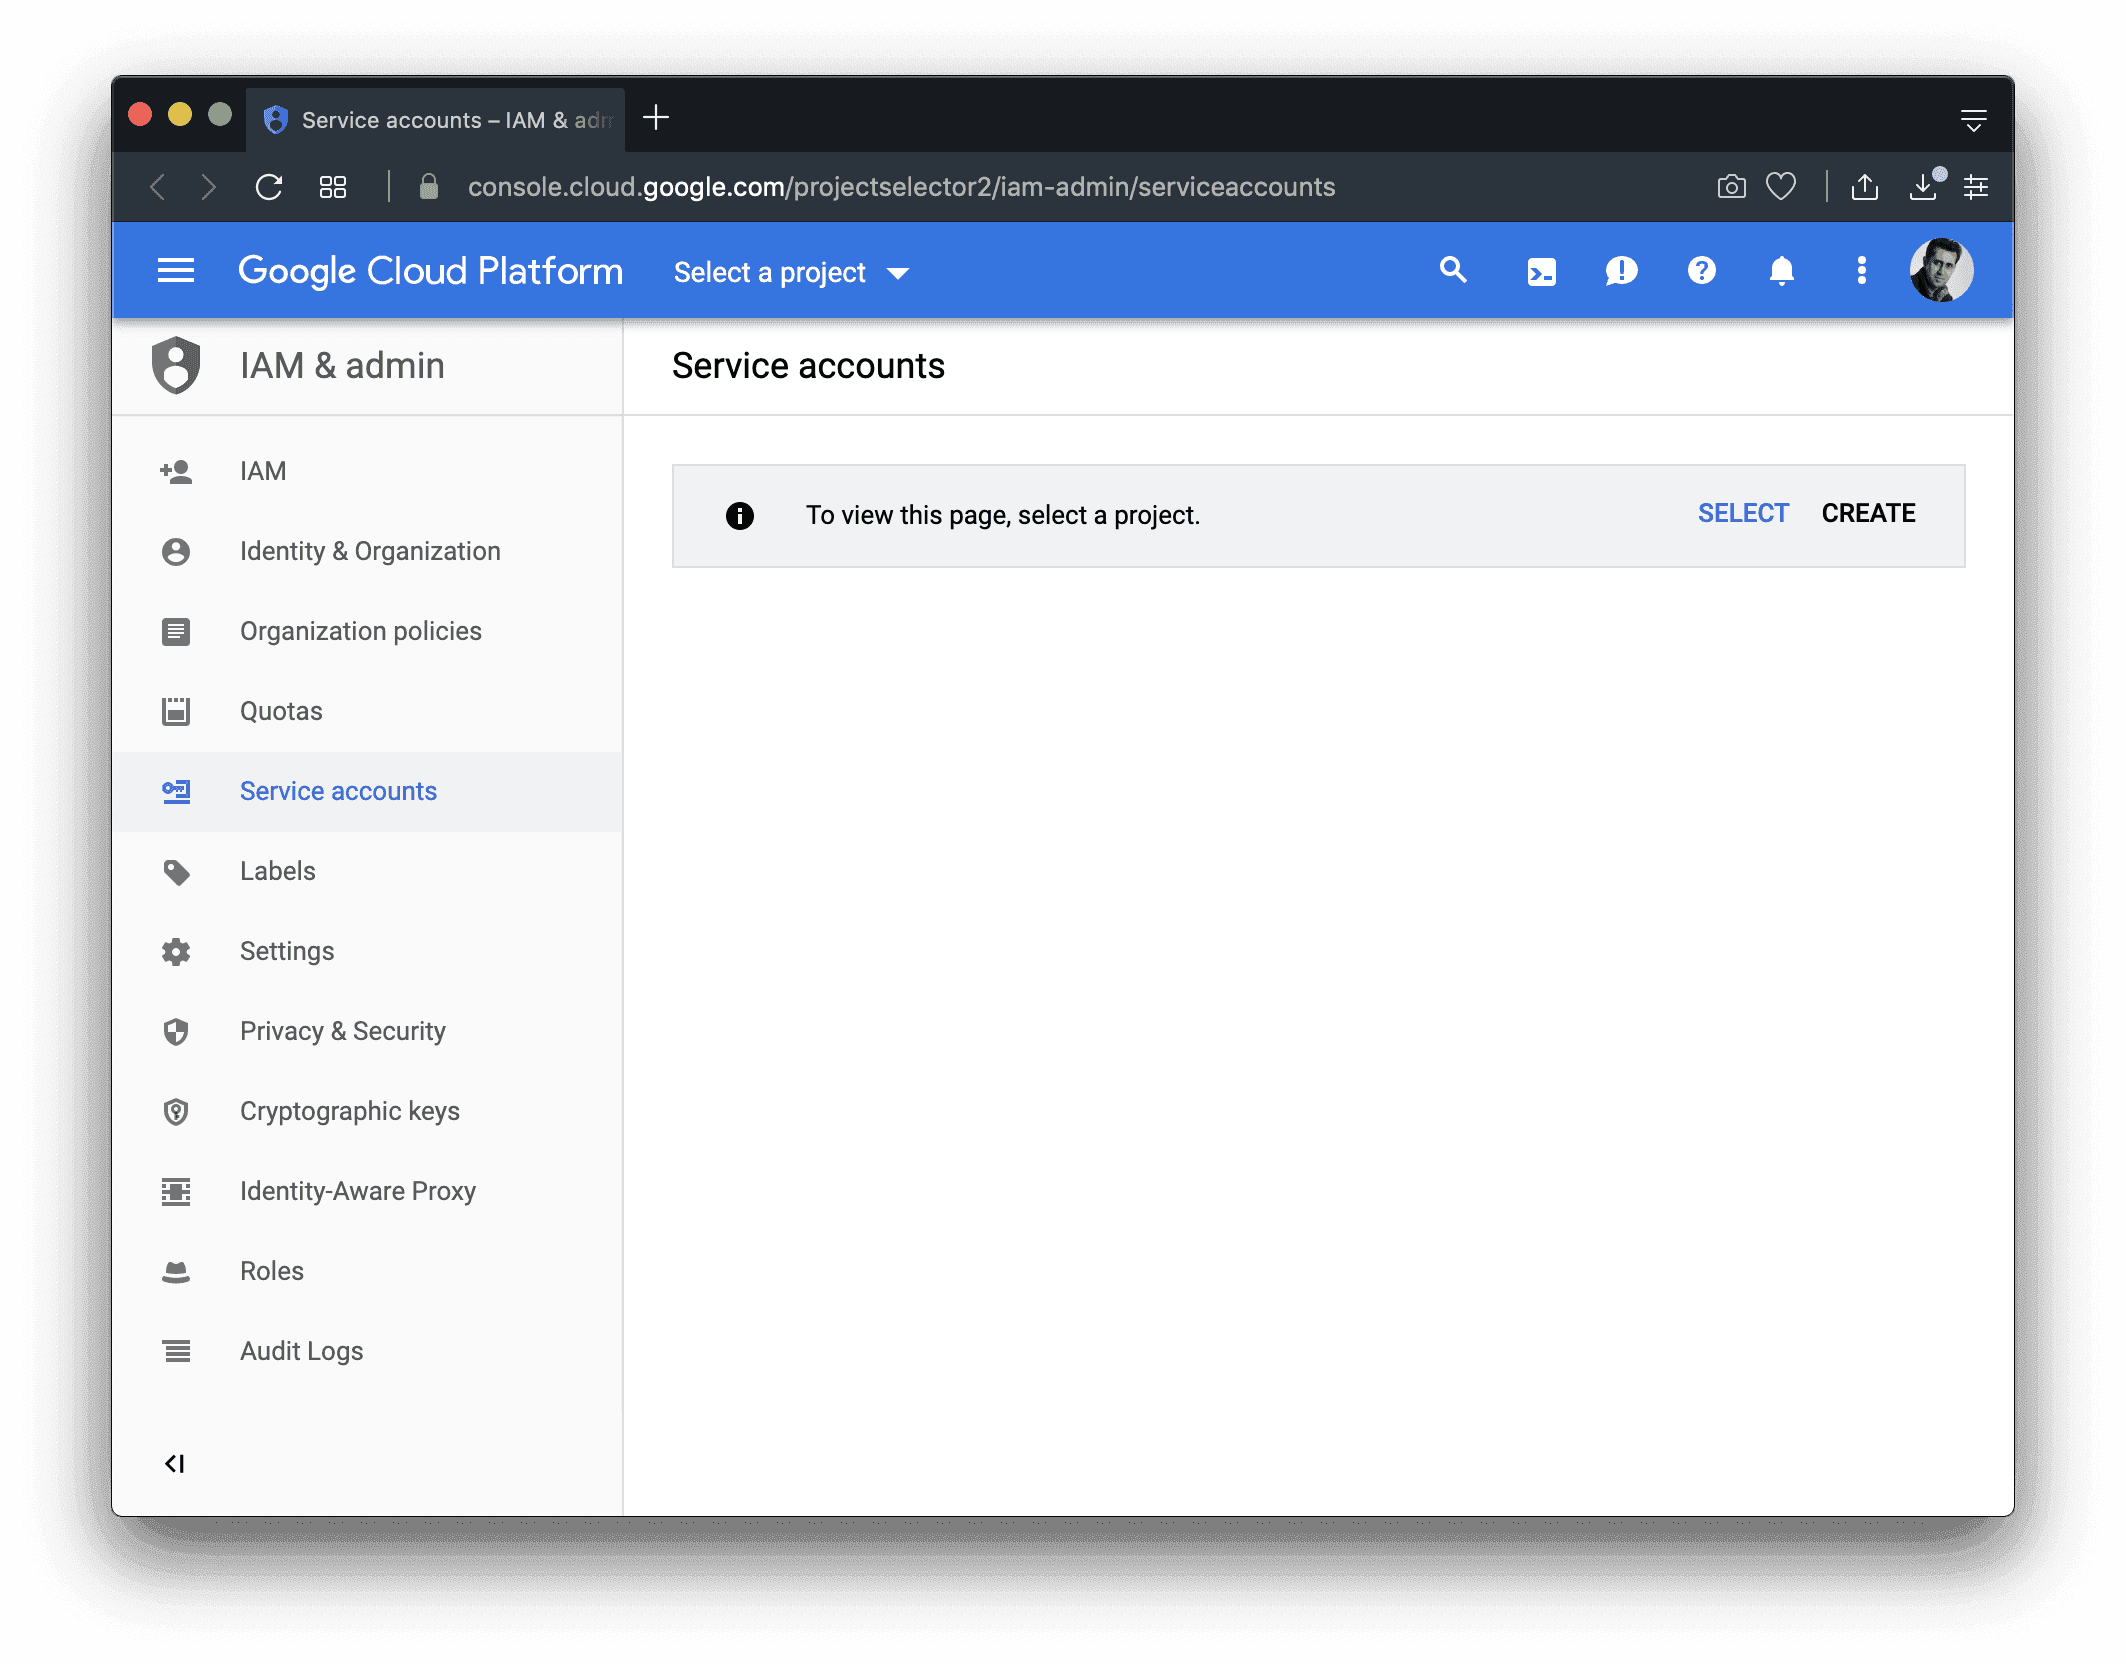
Click on the
Select a projectbutton and choose a project that you would like to authorize Galaxy to authorize access its resources. If you do not have a project, refer to this page on how to create one. -
Click on the
+ CREATE SERVICE ACCOUNTbutton: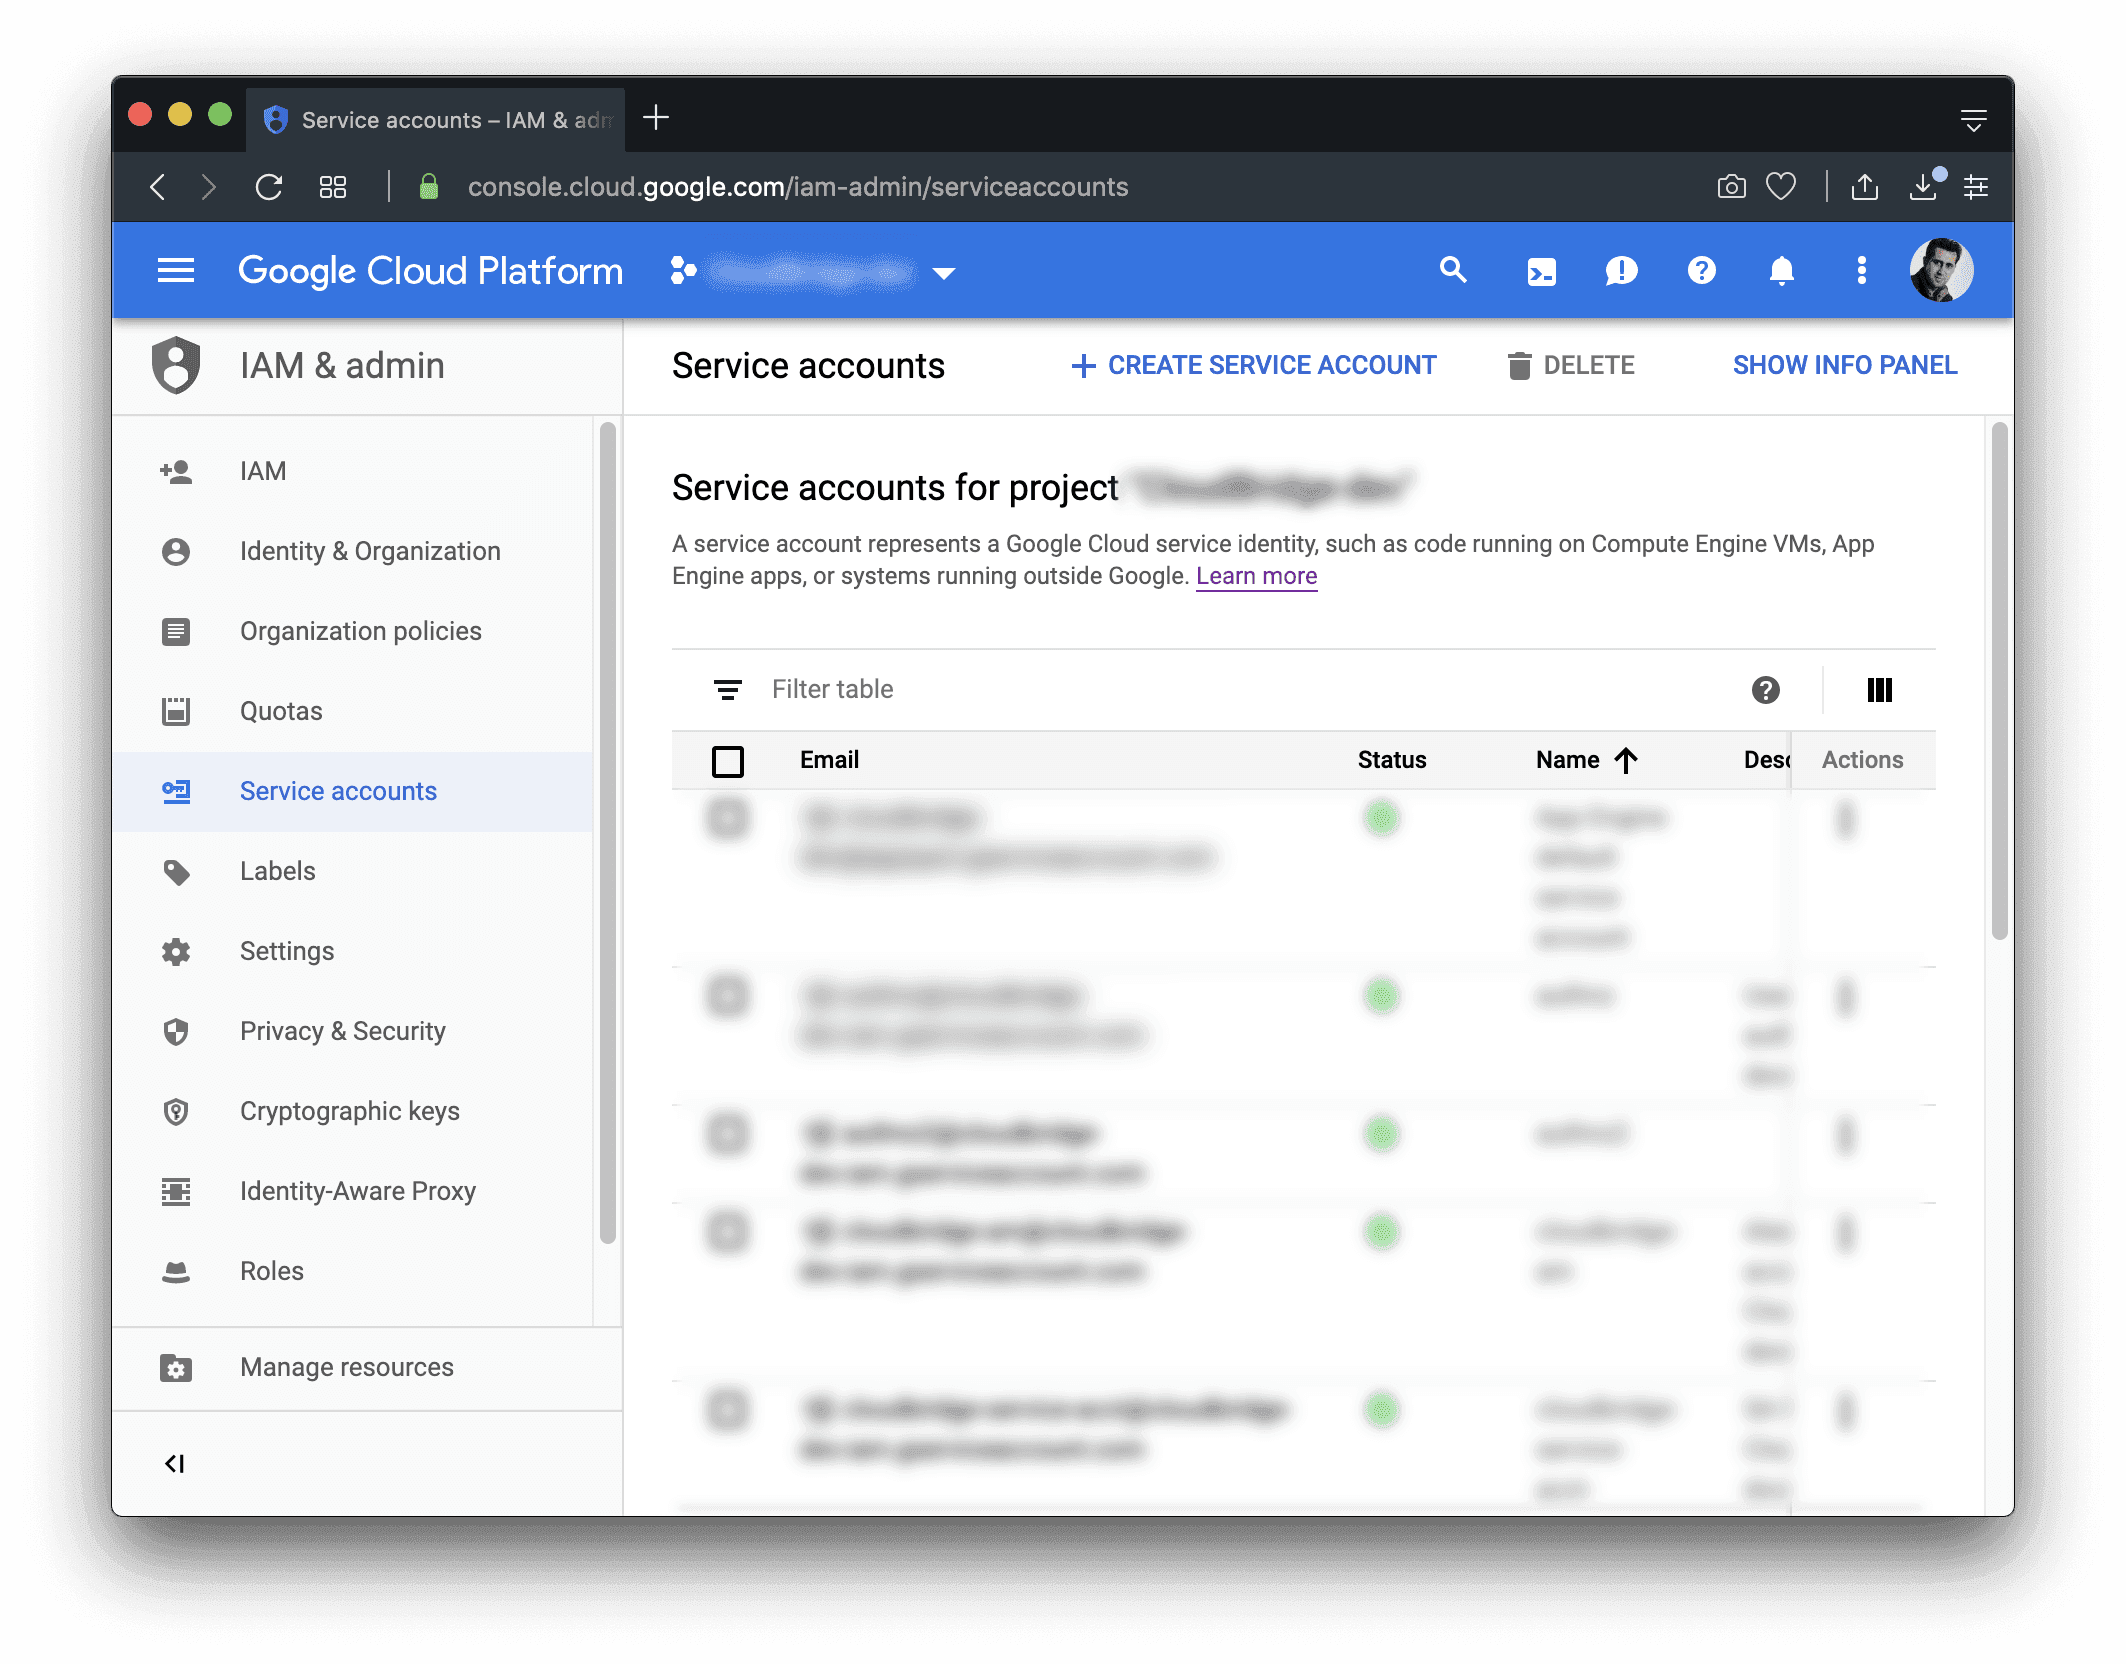
-
Fill in the detail and click on the
CREATEbutton: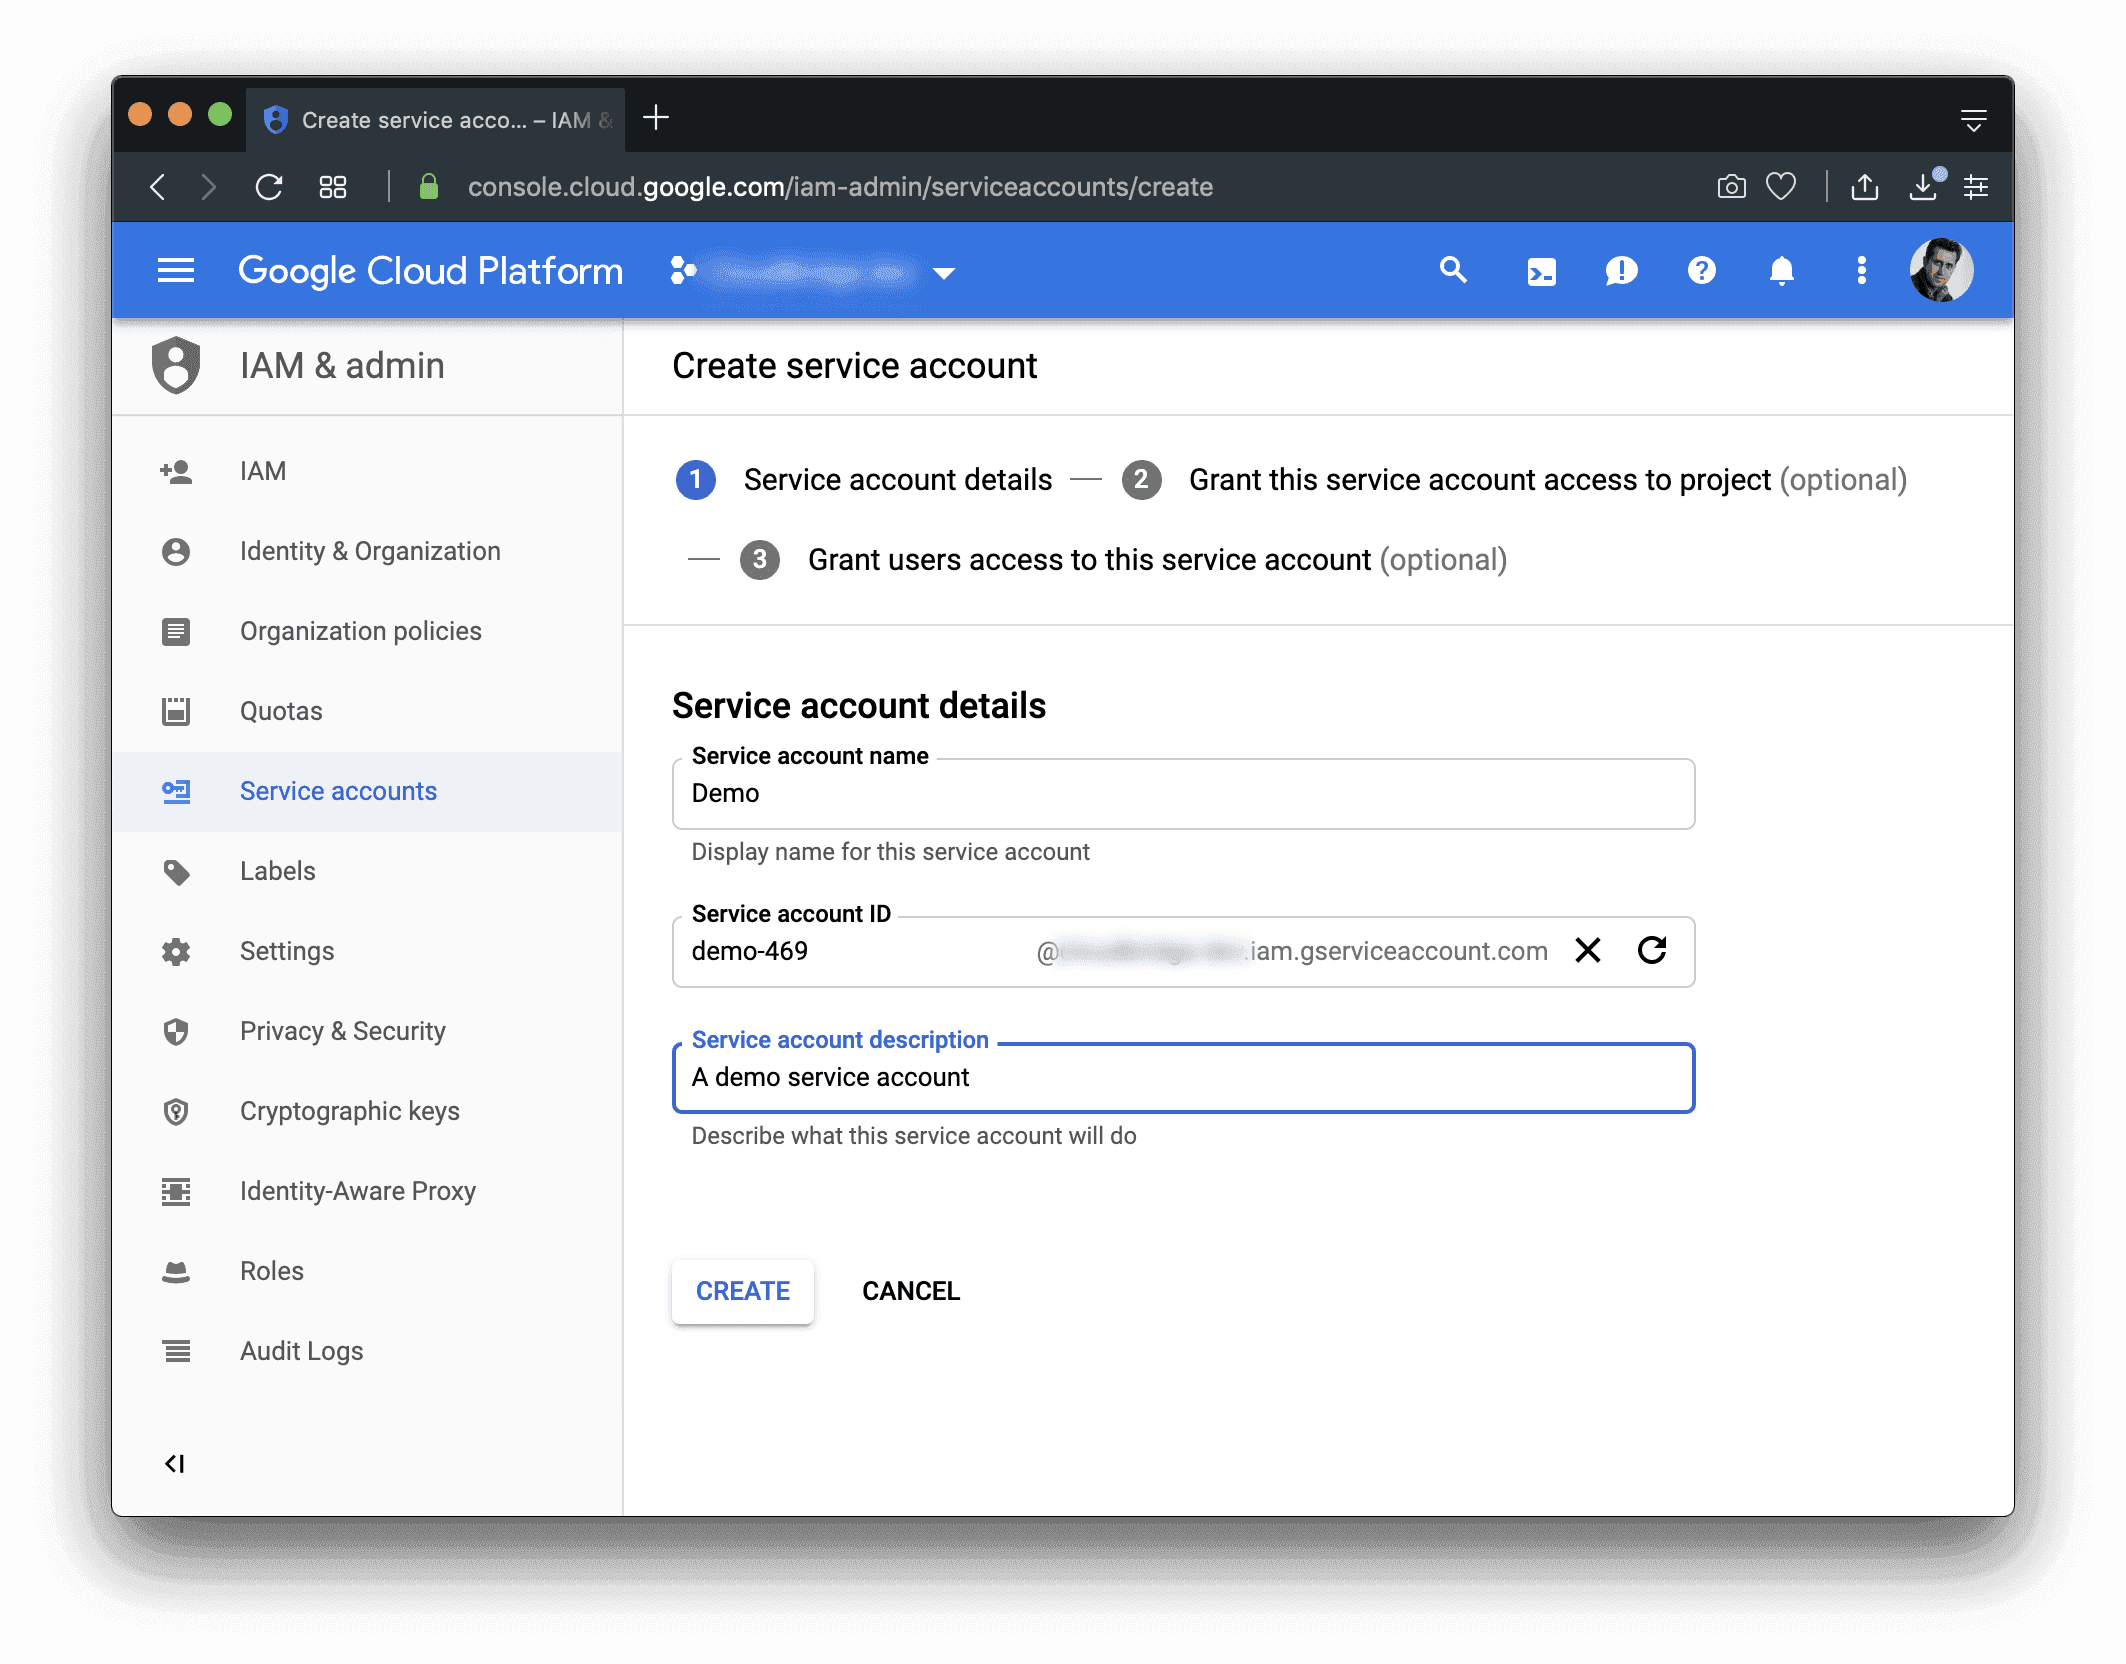
-
Grant the service account with minimum required permissions, then click on the
CONTINUEbutton: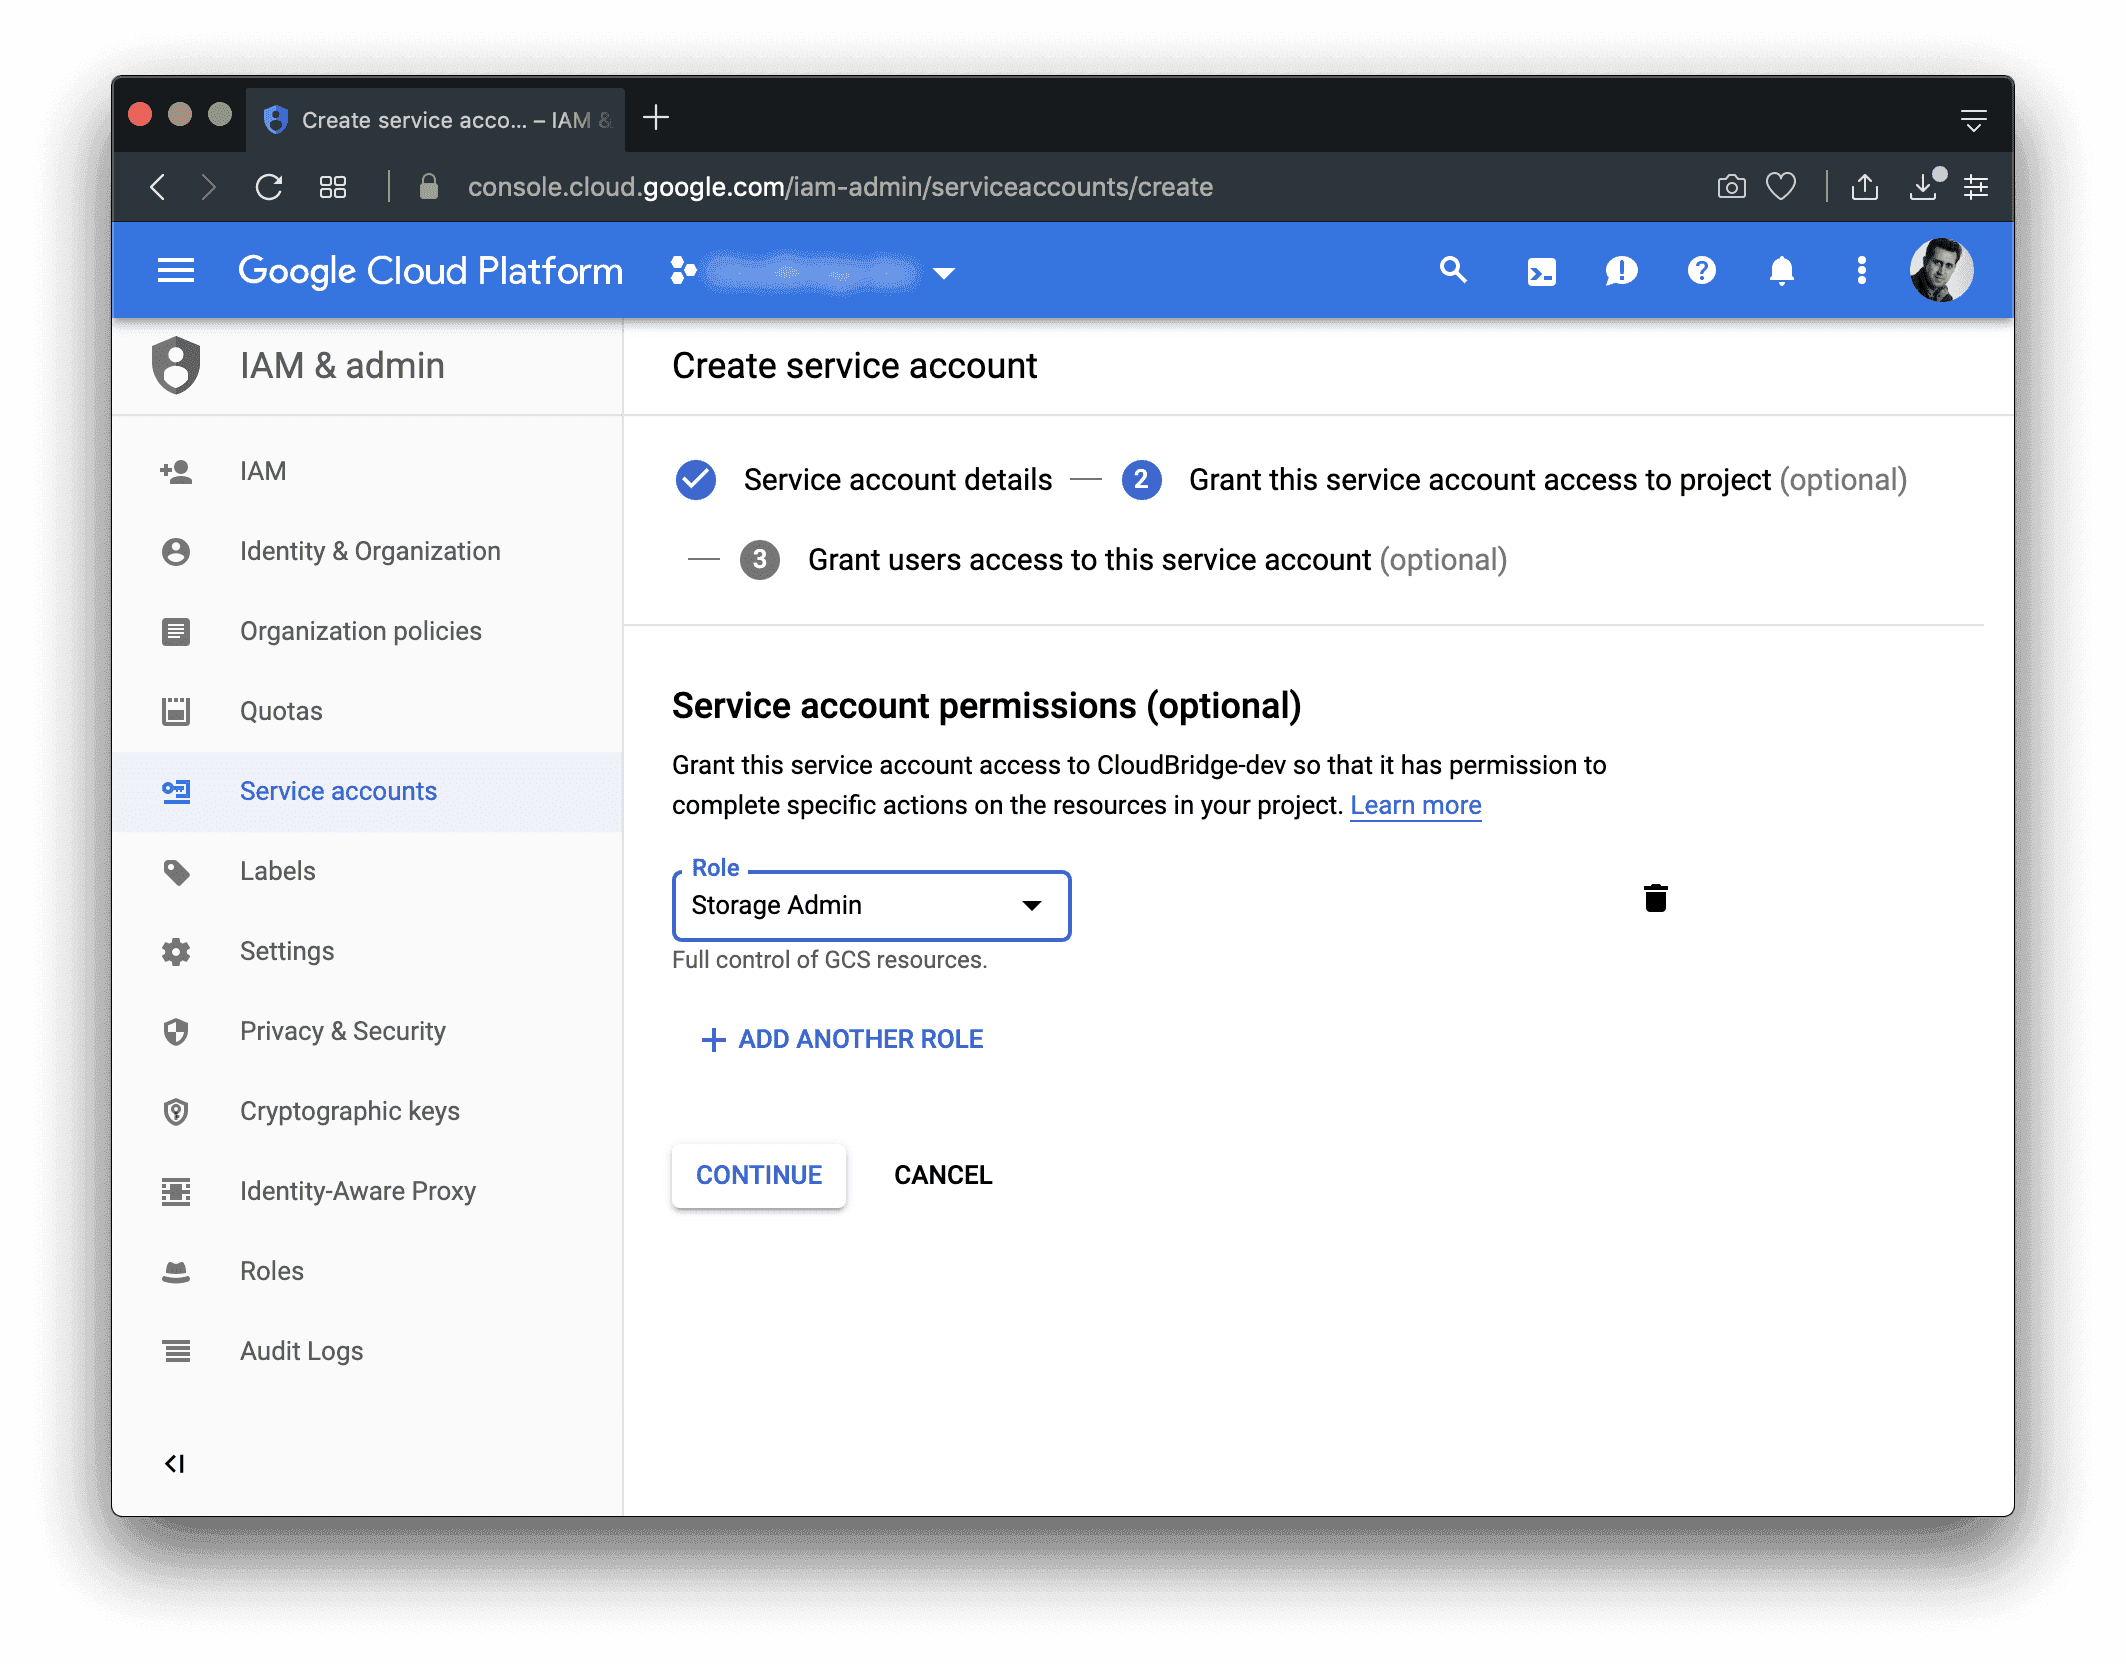
To define a more granular roles (with least possible privileges), you may first refer to this page for details on granting roles to service accounts, and then refer to this list of roles for choosing a role that satisfies you authorization needs at best.
-
Click on the
+ CREATE KEYbutton, and then chooseJSON(the default option) from the newly shown window, then click on theCREATEbutton.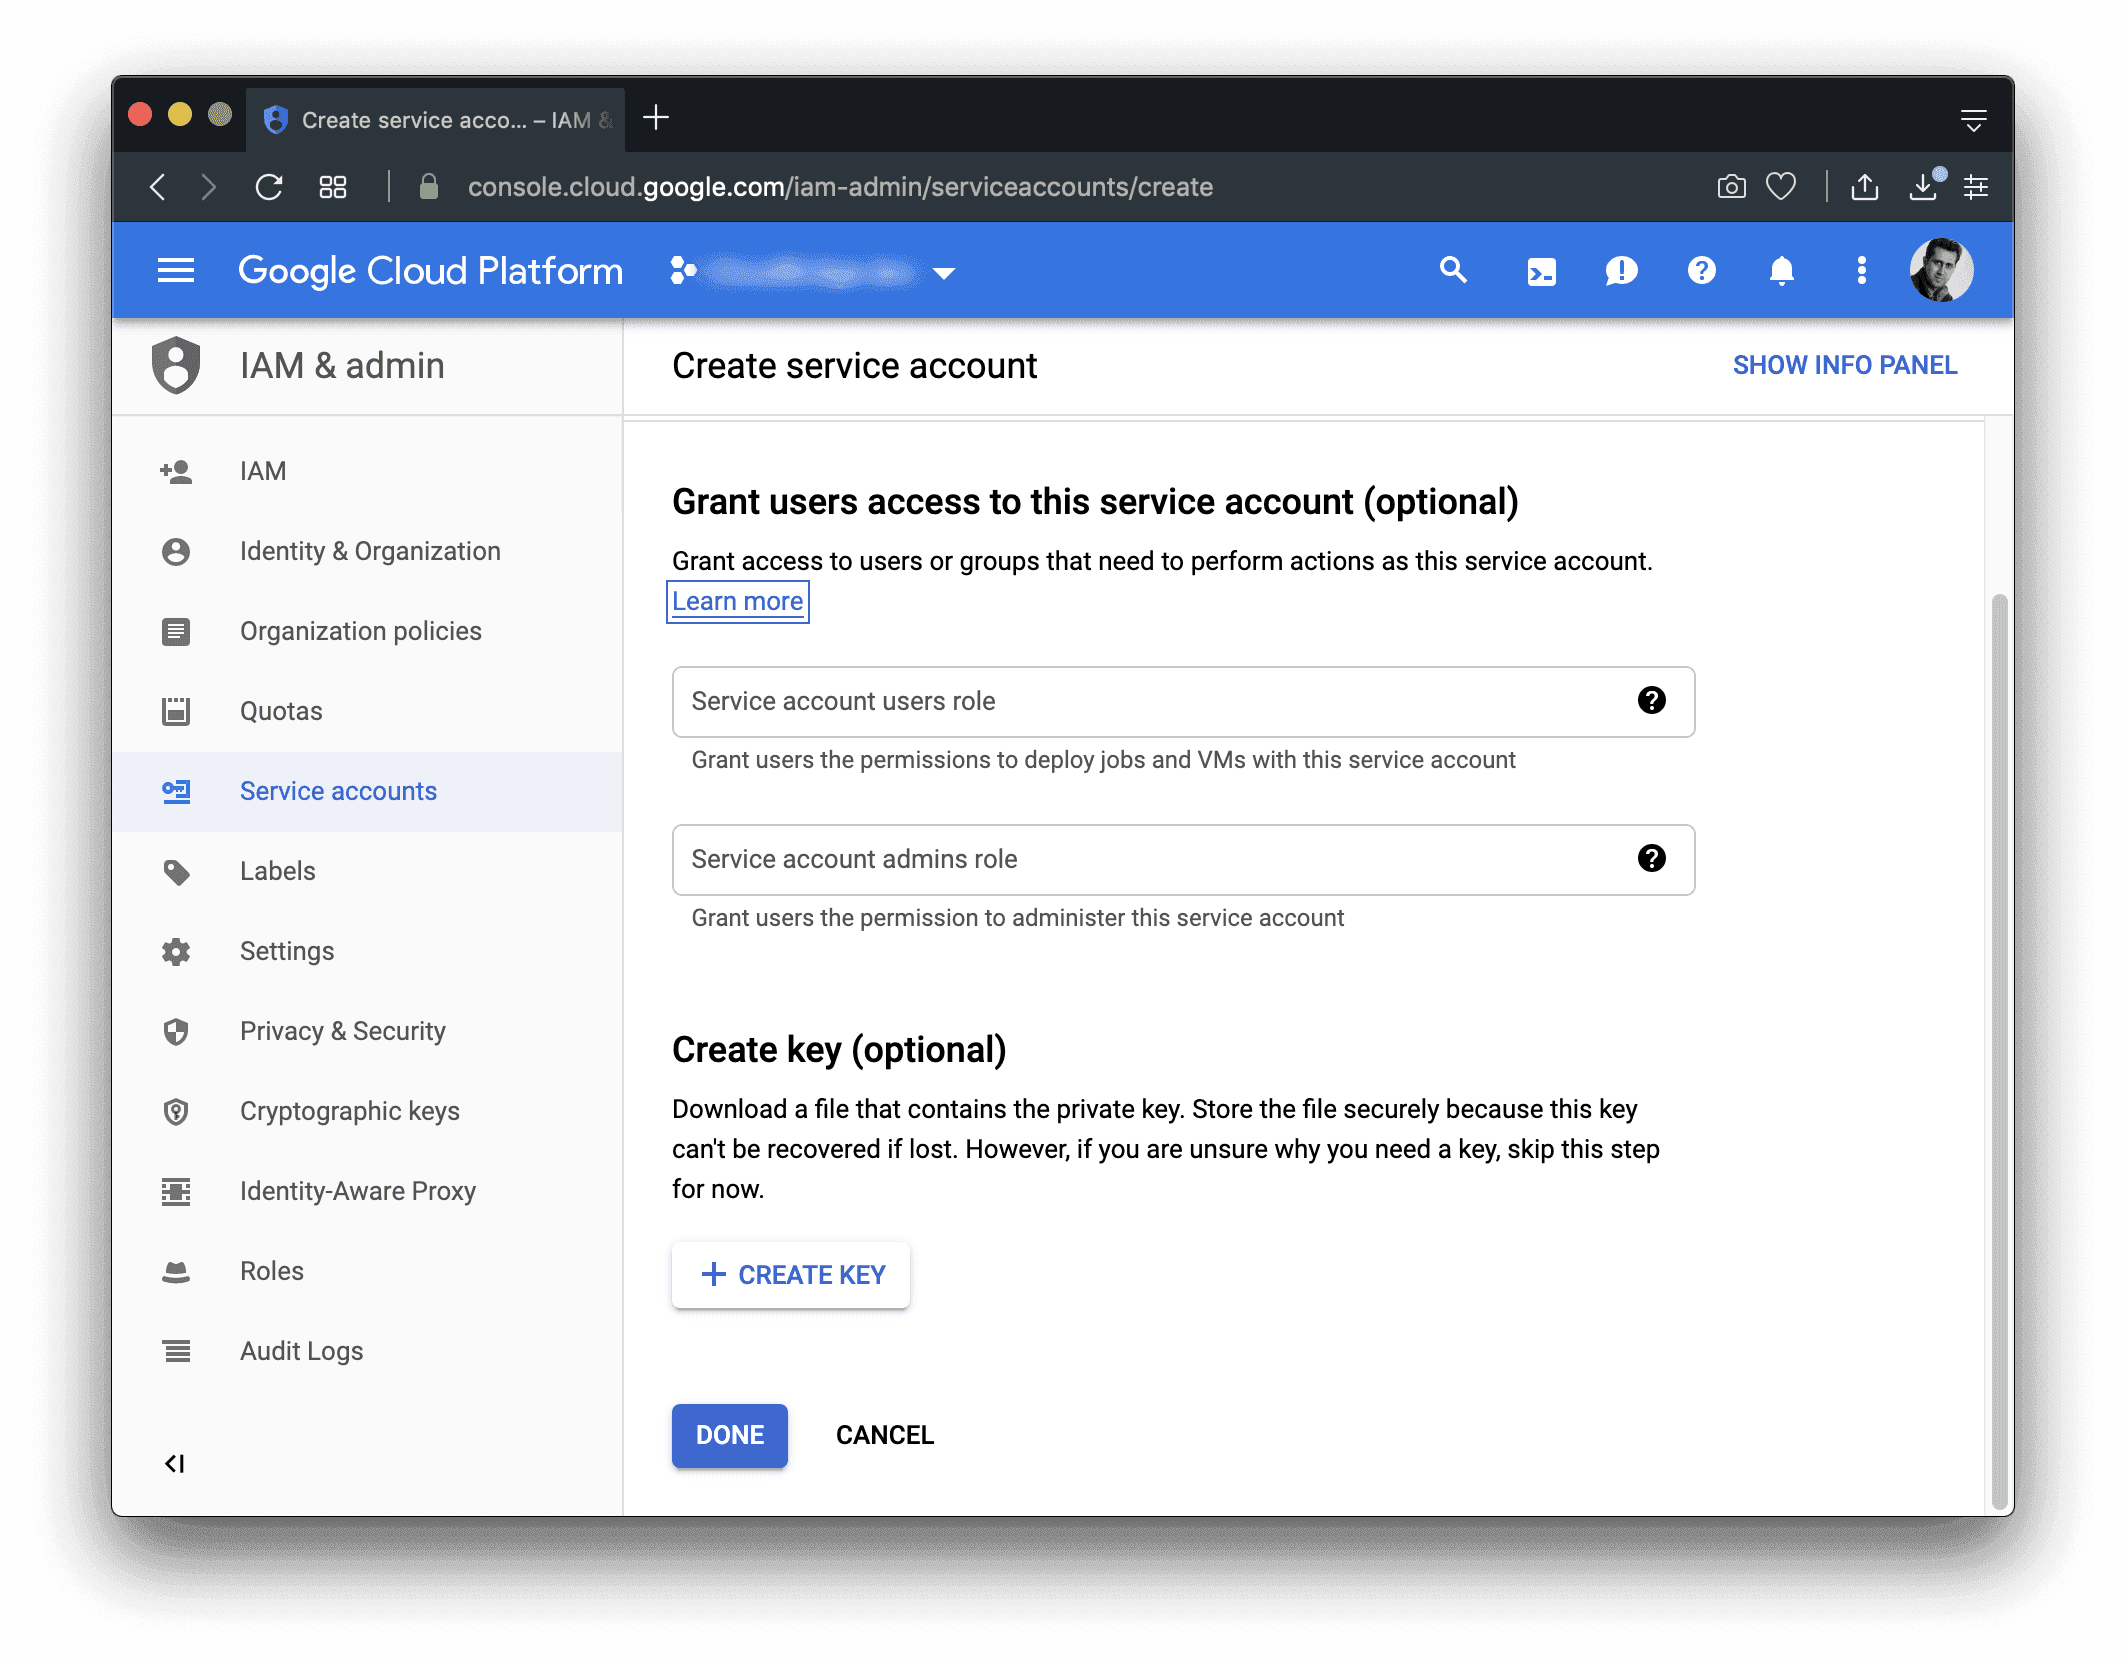
-
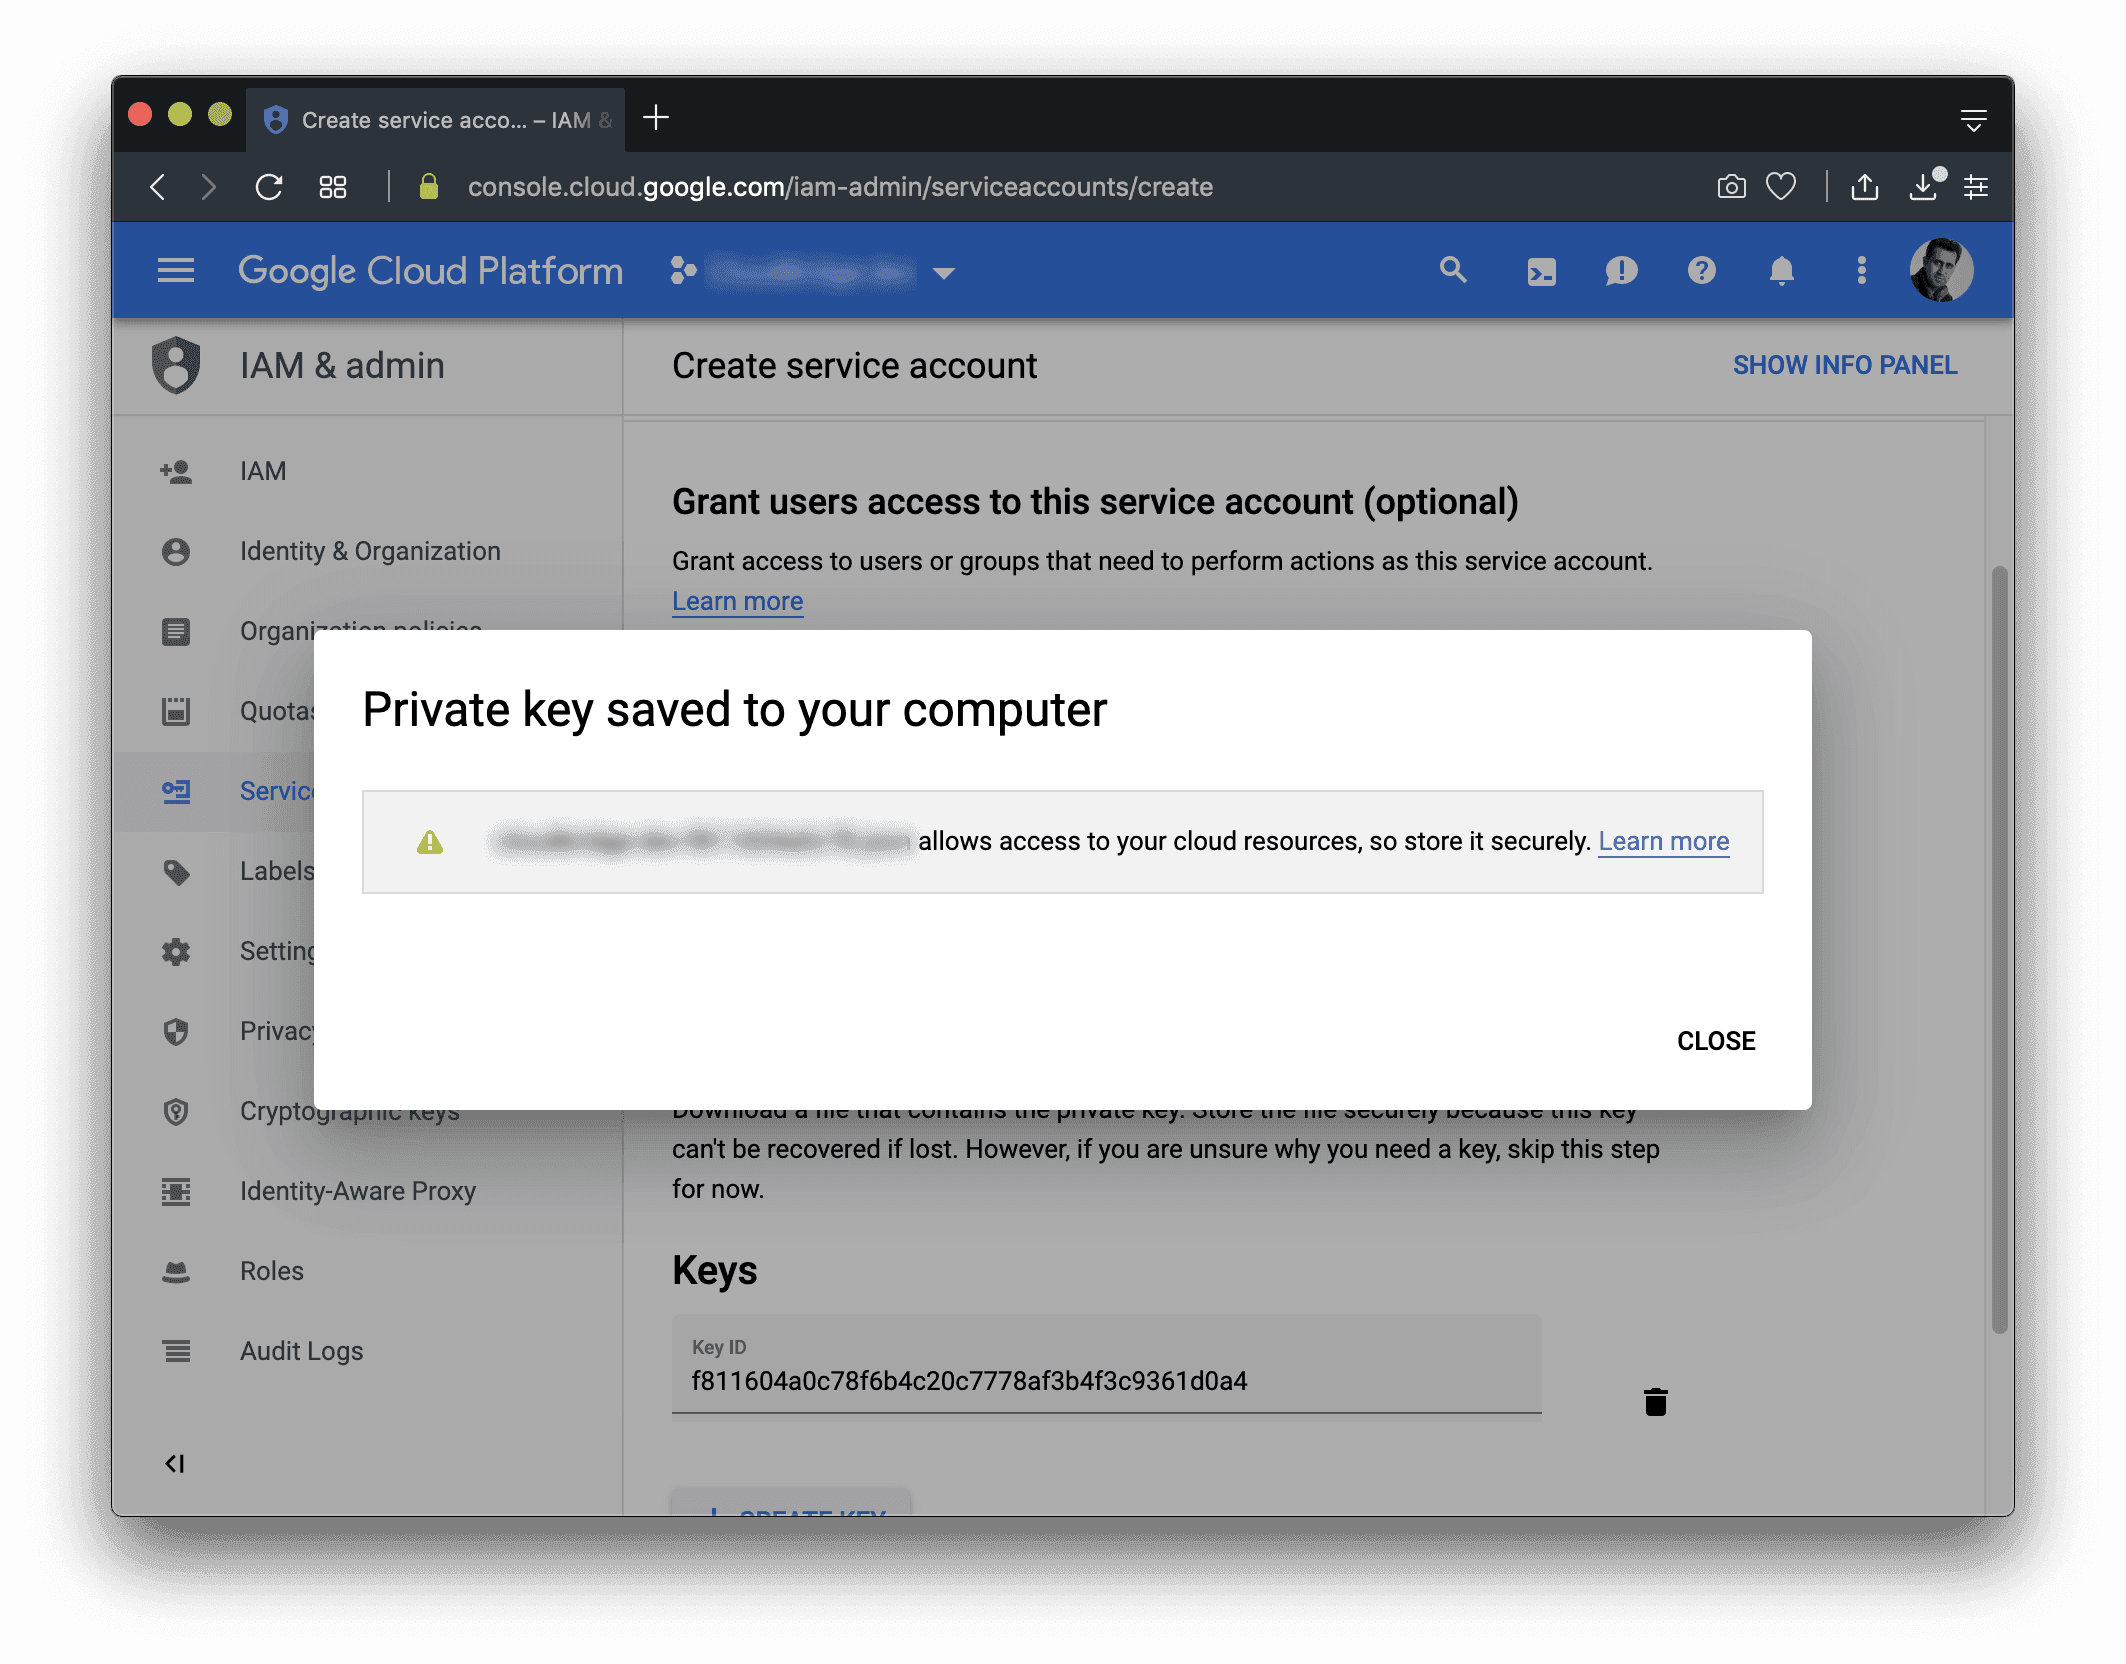
A file containing the secrets for the service account will be then downloaded to your computer:
-
Click on the
CLOSEand thenDONEbuttons.
Step 2: Provide Galaxy with the Service Account Secrets
We use Galaxy’s cloud authorization API to define authorization to GCP.
In general, first we obtain an API key, then POST required info to the
cloud authorization API. For this, take the following steps:
-
Login to Galaxy (different methods are available, including login with Google account), then go to the
Preferencessection: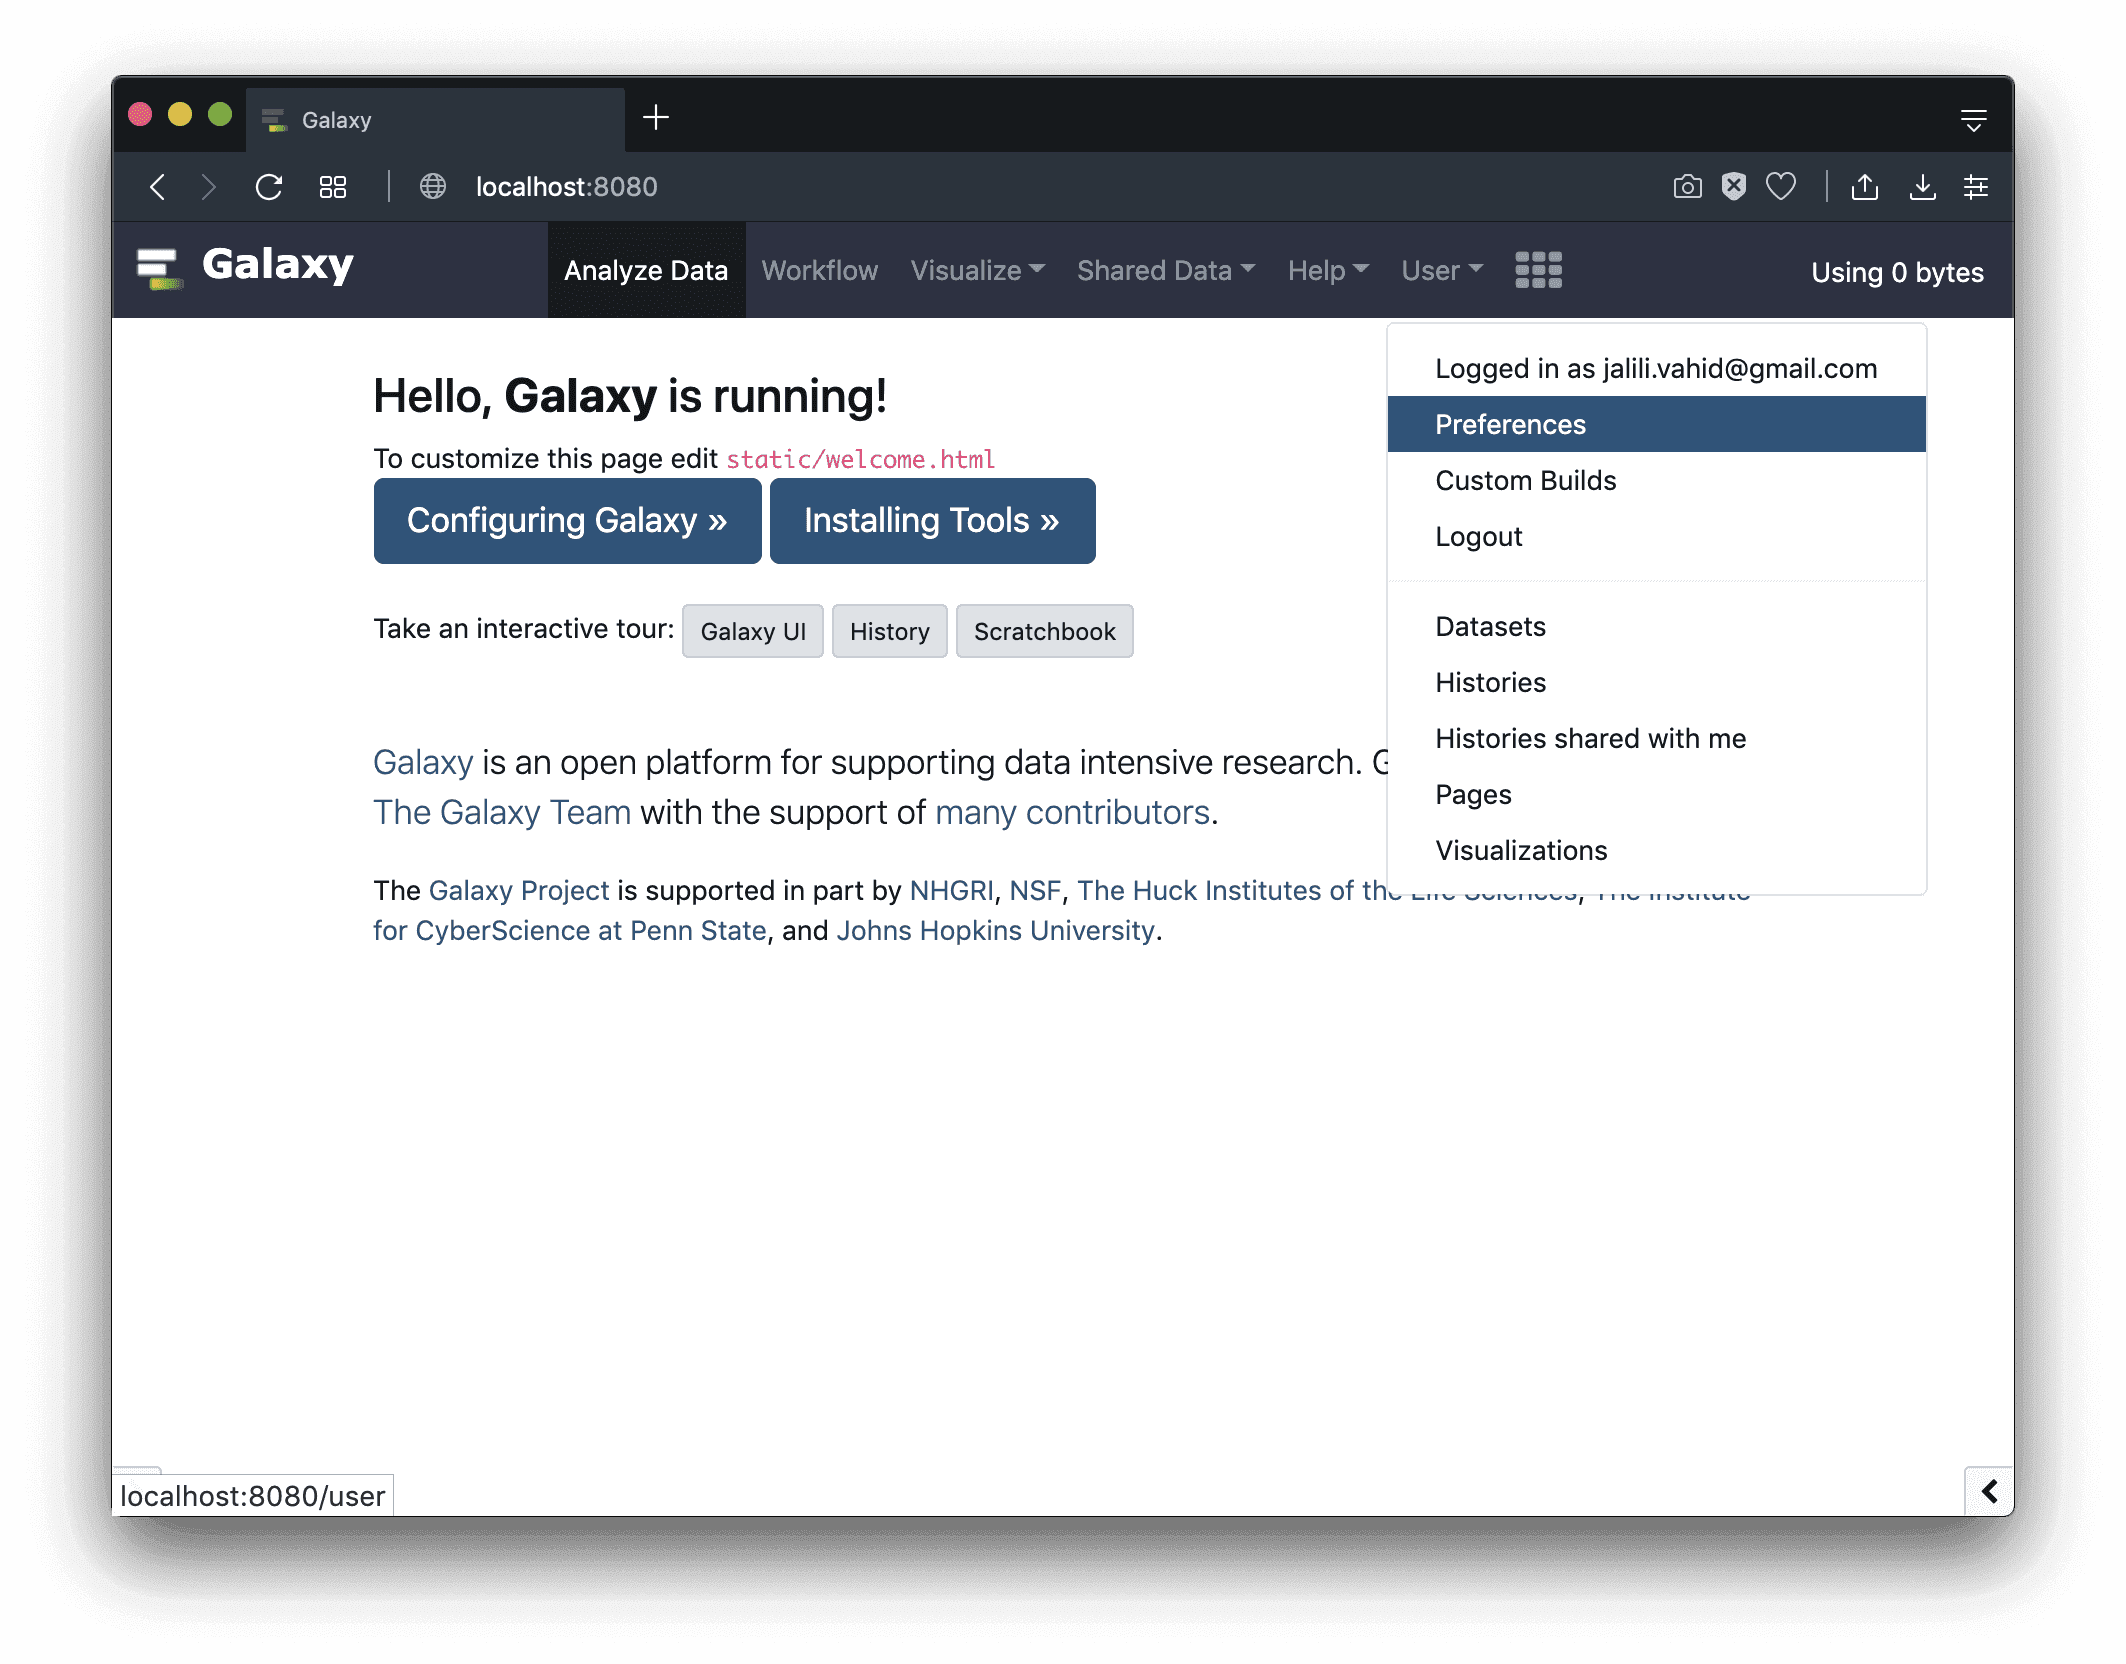
-
In the
User preferenceswindow, click on theManage API keyitem, then click on theCreate a new keybutton, and copy the generated API key: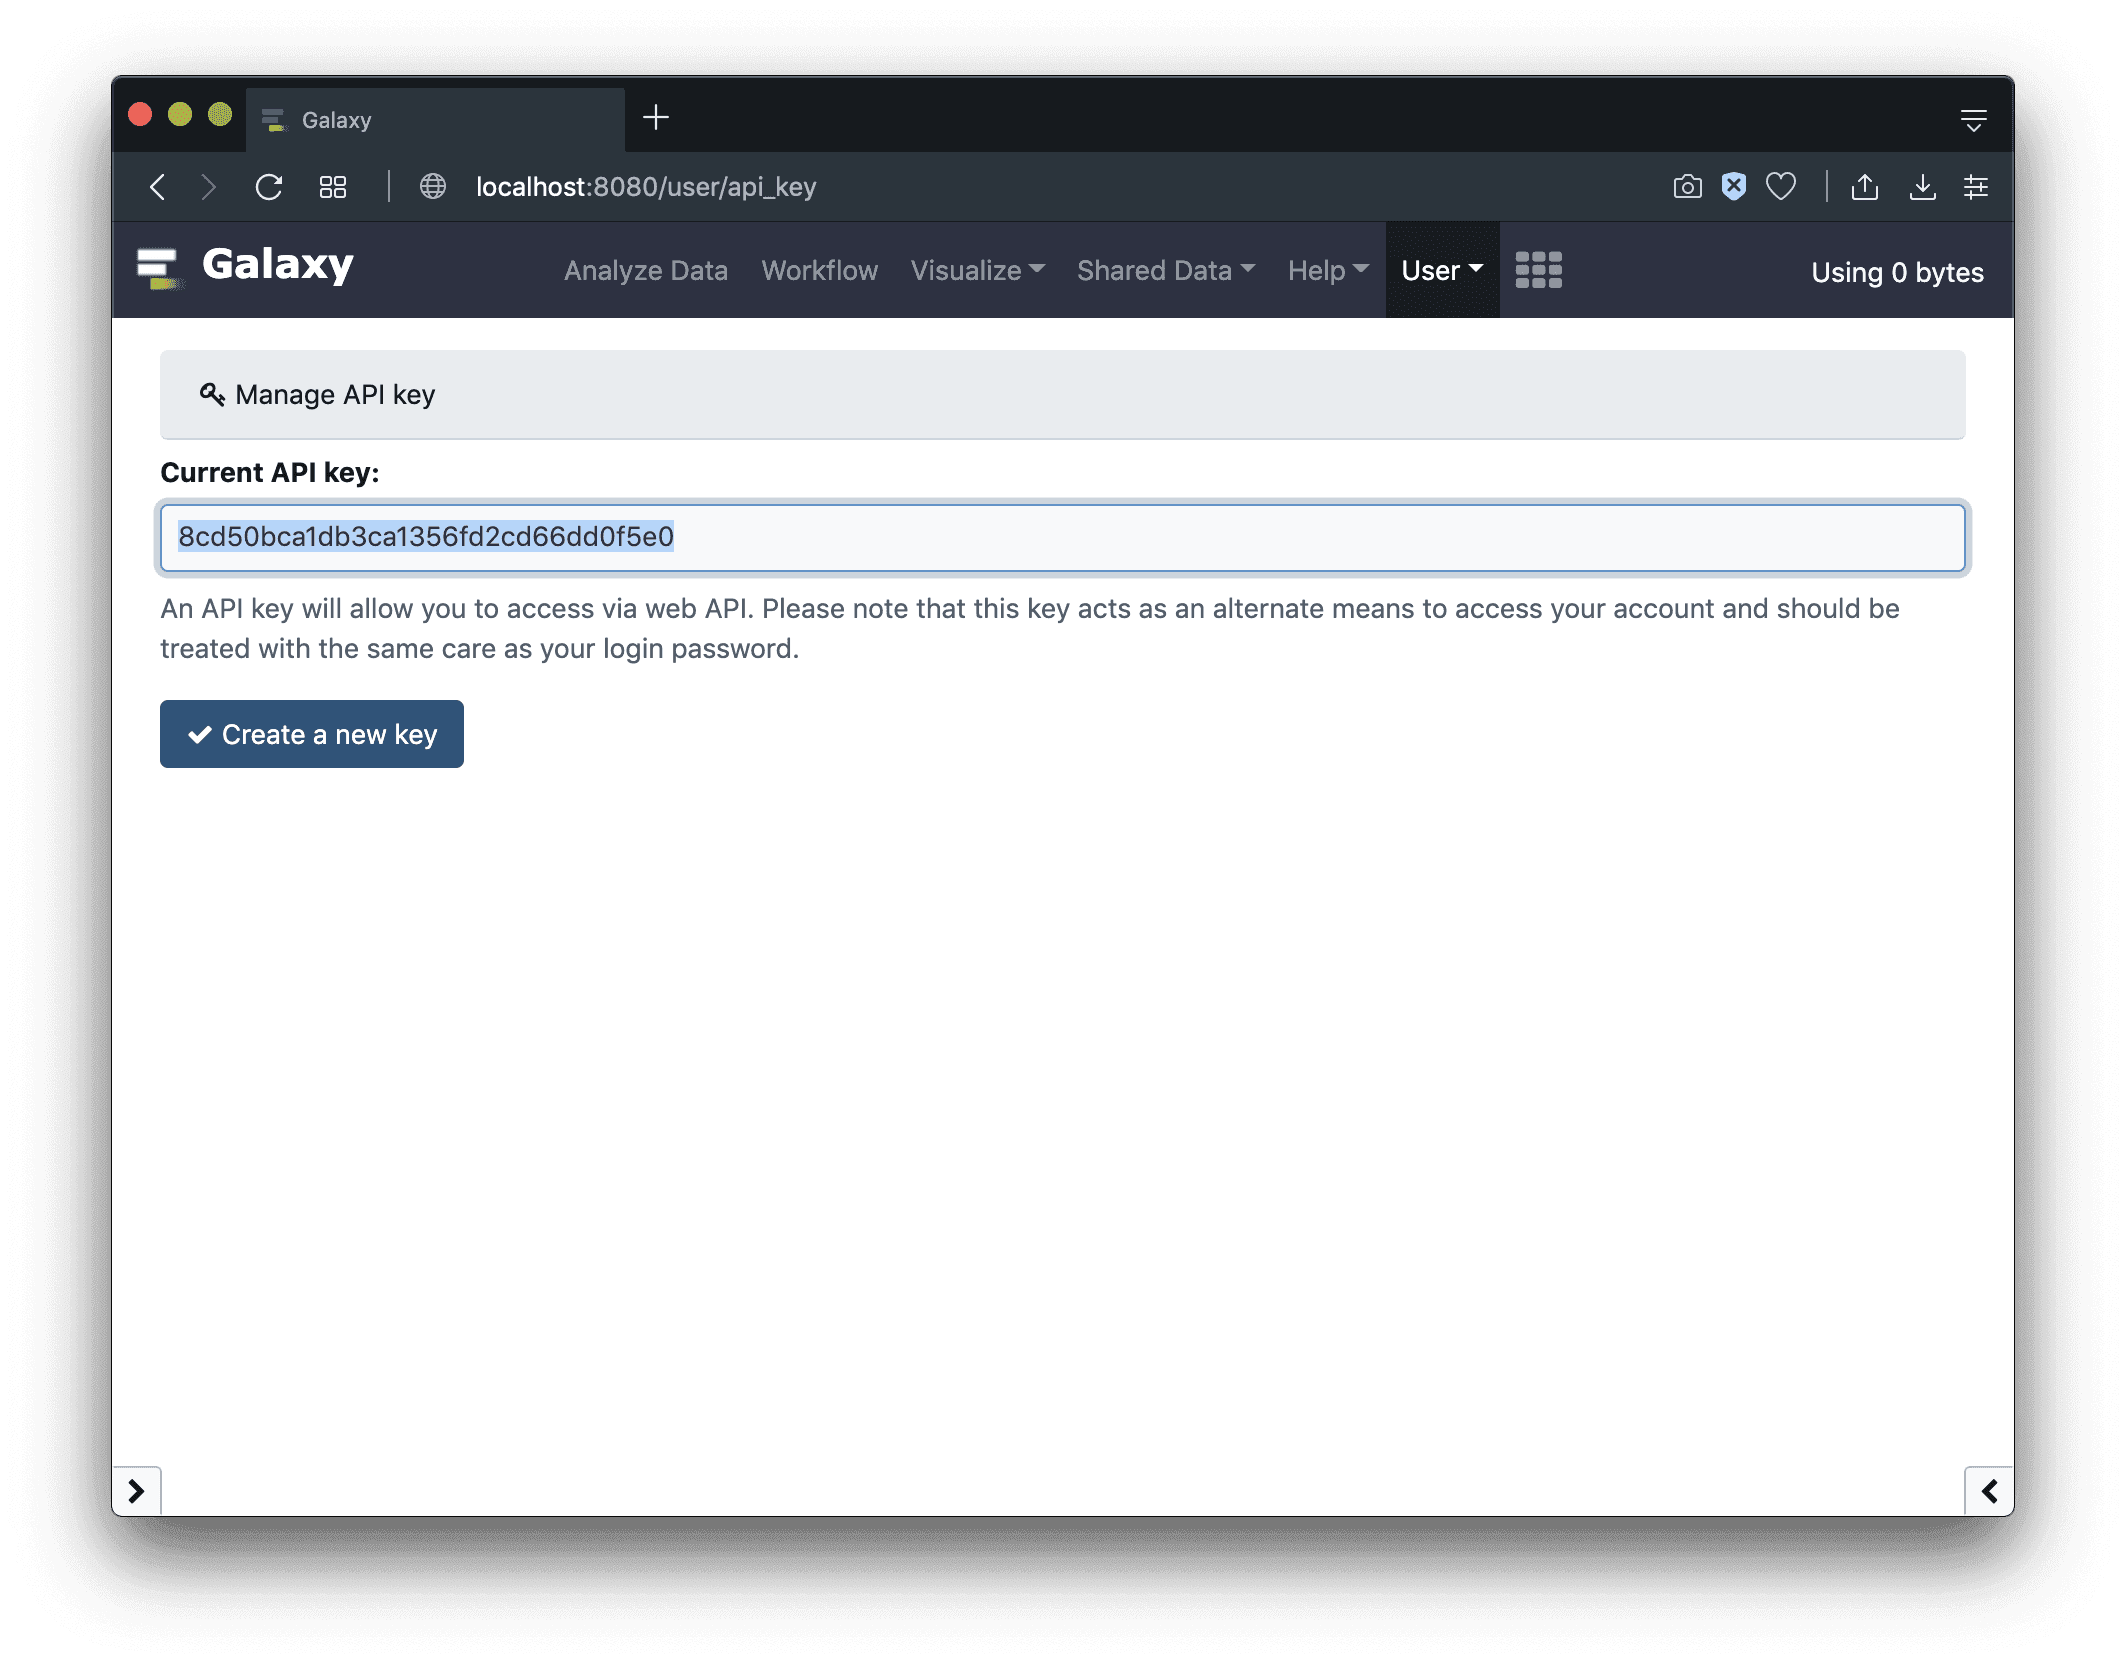
-
Send a
POSTrequest to cloud authorization API at:api/cloud/authzwith the following payload:
{
  "provider": "gcp",
  "authn_id":"f2db41e1fa331b3e",
  "config": {
    "project_id": "...",
    "private_key_id": "...",
    "private_key": "...",
    "client_email": "...",
    "client_id": "..."
  }
}
You may send a
GETrequest to/authnzcontroller to obtain theauthn_id. You may obtain the values for the keys in theconfigsection, from the service account’s secretes file downloaded from GCP at first step.Galaxy will respond to the
POSTmethod as the following:{ "authn_id": "f2db41e1fa331b3e", "user_id": "f2db41e1fa331b3e", "description": "", "last_update": "2019-07-15 21:59:26.171779", "last_activity": "2019-07-15 21:59:26.171791", "create_time": "2019-07-16 04:59:26.173277", "provider": "gcp", "model_class": "CloudAuthz", "config": { "private_key": "...", "project_id": "...", "client_email": "...", "private_key_id": "...", "client_id": "..." }, "id": "f2db41e1fa331b3e" }Take a note of the authorization ID (i.e.,
"id": "f2db41e1fa331b3e"), which you would need to provide in order to interact with GCP. Having defined the cloud authorization, you may send your data from Galaxy to Google Cloud Storage (GCS), or copy your data from GCS to your Galaxy history.