Configure Your Galaxy Instance as a CILogon OIDC Client
On this page
This page explains how to configure this feature, for user-specific docs, please refer to this page.
Leveraging OpenID Connect (OIDC) protocol, users can login to Galaxy with their exsiting insitutional login credentials by using CILogon, without having to (explicitly) create a Galaxy user account. To enable this feature on your Galaxy instance, you would need to first register you a client on the CILogon portal and await approval of your client, then use your registration information to configure Galaxy. These steps are described in details in the following sections.
Client Registration
Take the following steps in order to register a client with CILogon on its OAuth2.0 authorization server:
Visit the CILogon OIDC/OAuth 2.0 Client Registration page and fill out the form with the appropriate information according to your Galaxy instance:
-
The Home URL should be the main address that users will use to get to your instance of Galaxy.
-
For the Callback URLs field, you need to enter your instance’s OIDC redirect URI, which is in the following template:
<Host URI>/authnz/cilogon/callbackFor instance:
http://localhost:8080/authnz/cilogon/callbackSee this section for details.
-
After filling out the form, hit Register Client and wait for approval from the CILogon team. Upon approval, the notification email will include your OAuth
Client IDandClient Secret; note this info! You will need it for the Galaxy configuration.
Galaxy Configuration
You would need to setup you Galaxy instance to leverage OIDC protocol.
This setup is common for all OIDC IdPs, and is
documented at this page.
Then you would need to add CILogon-specific setters to the config/oidc_backends_config.xml file as in the following. Note that the redirect_uri must have been included in the list of callback URLs during your CILogon client registration:
<?xml version="1.0"?>
<OIDC>
    <provider name="CILogon">
        <url>https://cilogon.org/authorize</url>
        <client_id> ... </client_id>
        <client_secret> ... </client_secret>
        <redirect_uri>http://localhost:8080/authnz/cilogon/callback</redirect_uri>
        <realm>master</realm>
    </provider>
</OIDC>
See this section for more details.
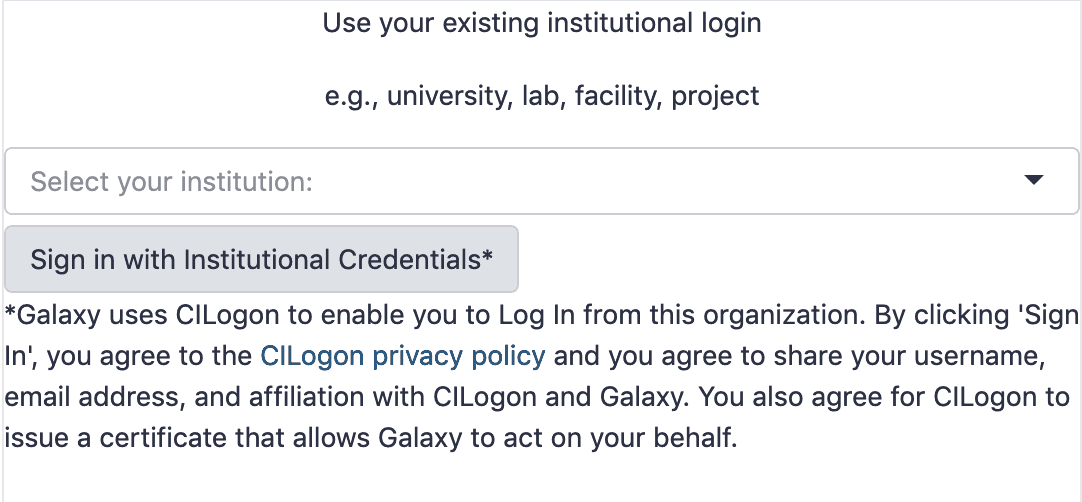
Having set this configuration, restart Galaxy to have the option to login to Galaxy using CILogon by selecting your institution from the list and entering the login credentials.